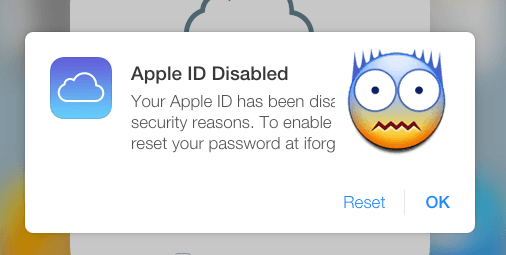
You may have got a message “Your Apple ID Has Been Disabled“? Yes, Of course, that’s why you are here. Now a big question would be in your mind that how to fix it? Don’t worry, it is quite easy. In this article, I will be telling you some easy ways by which you can fix it. So If you want to know how to unlock Apple ID, then read the whole article.
Table of Contents
Why Your Apple ID Has Been Disabled?
Entering the wrong password, security questions or other account information too many times can result in this. One of the reason can be not having used Apple ID for a long time. Apple keeps on updating its rules and requirements for Apple ID’s, security questions, passwords, and verification steps. It occasionally disables outdated accounts. And this is not even wrong. It is for your security only. To unlock your Apple ID, now you need to verify your identity. You might see one of the following alerts if your Apple ID is disabled for security reasons:
- “You can’t sign in because your account was disabled for security reasons”
- “This Apple ID has been disabled for security reasons”
- “This Apple ID has been locked for security reasons”
Another reason behind this lock can be the unpaid or disputed charges on Apple’s App Store or iTunes. Your Apple ID will remain disabled until you pay the charge. You may need to call Apple’s iTunes Support Team to find out if there is any payment due.
How To Unlock Apple ID?
Solution 1: Unlock Apple ID Using Recovery Email Or Answering Security Questions
This is the simplest way by which you can unlock your disabled Apple ID. Just you need to follow the below-mentioned steps:
- First, you need to visit AppleID login page and have to click on Forgot Apple ID or password. Or you can click here to directly visit the forgot password page.
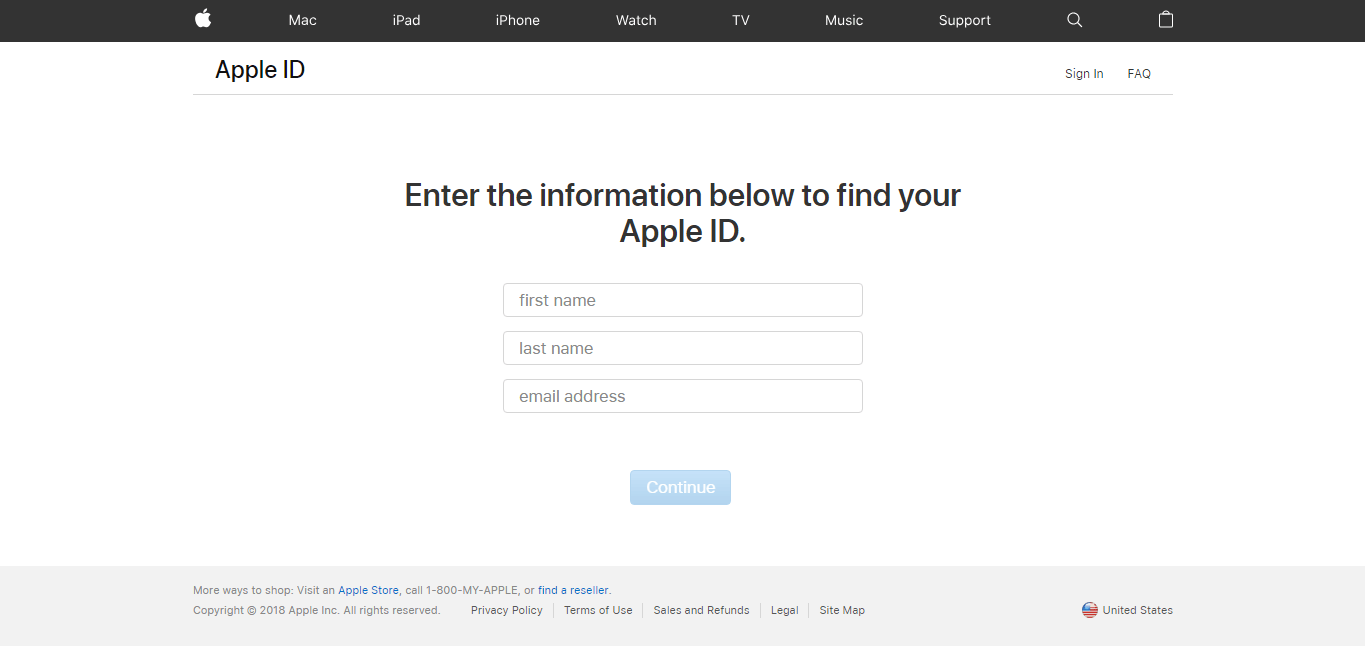
- Now, In the given blanks, you need to fill your details. After doing so, click on the Continue button.
- On the next screen, you will need to choose the method by which you would like to reset your password. There will be two options, one will be resetting your password using a recovery email and in another option, you would require to answer some security questions which you chose when you created your Apple ID.
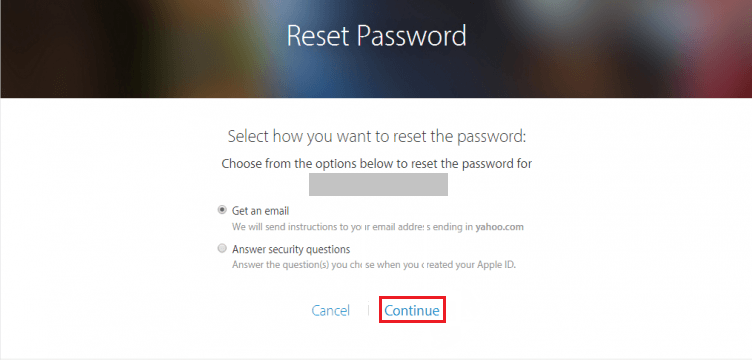
- If you don’t remember the answers to the security questions, then you should go with the first option – Get an email. After selecting it, press Continue.
Note: If you have enabled two-factor authentication or you have a recovery key for two-step verification and you don’t have access to the recovery email id then I would prefer you to go with any of these options.
- Check your Email account’s inbox, you may have got an email by Apple, Open it and press the Reset now button.
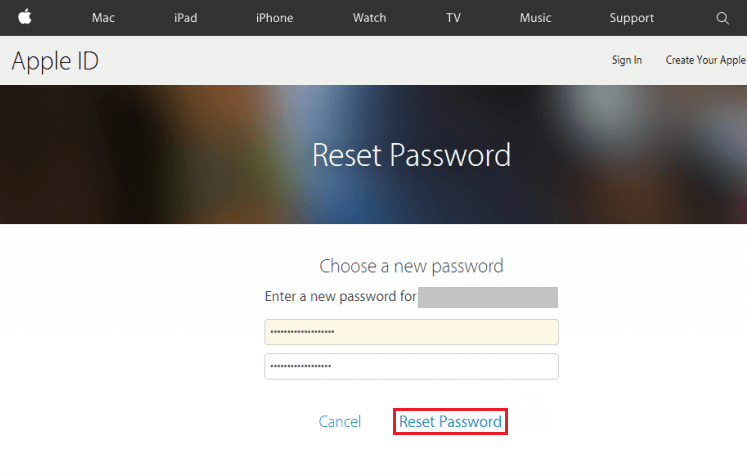
- Now you will be directed to a page where you can choose a new password. The new password should be different from the passwords used before. After typing the new password, Hit the Reset password option and that’s it.
- After successfully resetting the password, you would get a message on your screen as shown in the image below.
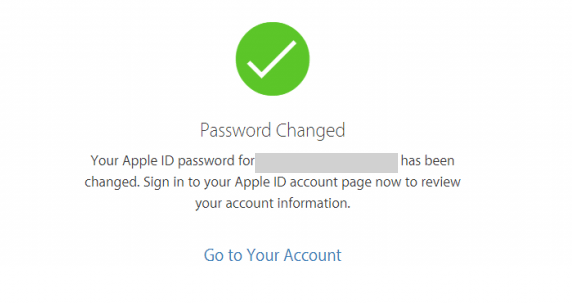
- Also, don’t forget to update the new password in all your Apple devices and in the settings.
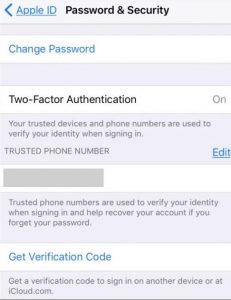
Solution 2: Unlock Apple ID Using Two-Factor Authentication
Note: This method will only work if you would have enabled two-factor authentication.
Using iPhone Or iPad:
- First, you need to Open up a trusted device.
- Now you need to go to Settings > Apple Profile > Password & Security > Change Password
Note: If you are using iOS 10.2 or an earlier one then tap iCloud > your name.
- From here you can easily change the password.
Using Mac
- After opening your trusted Mac device, you need to go to Apple Menu > System Preferences > iCloud > Account Details and have to select Security > Reset Password.
Note: Before resetting your Apple ID password, you would require to enter your MacBook’s password.
Solution 3: Unlock Apple ID Using Recovery Key (Two-Step Authentication)
Note: You can use this method only if you already have a recovery key.
- Firstly, you need to go to iforgot.apple.com. Now you have to enter your Apple ID.
- After doing so, you need to select the option to reset your password.
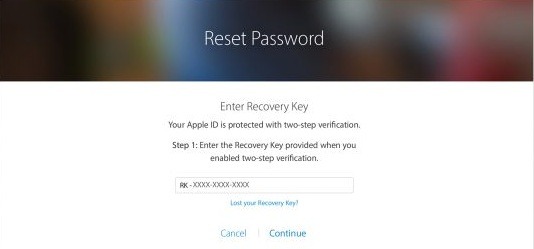
- Now enter your 14 characters recovery key for two-step verification.
- Next step is to choose one of your trusted devices where you want the verification code.
- Now enter the received verification code.
- Now you can easily reset the password.
Note: Don’t forget to update the new password in all your Apple devices and in the settings.
Remember: As long as you have the Apple ID password and access to one of your trusted devices, you can generate a new recovery key. And after creating a new one, the old key will be of no use.
Solution 4: Contact Apple’s Support Team
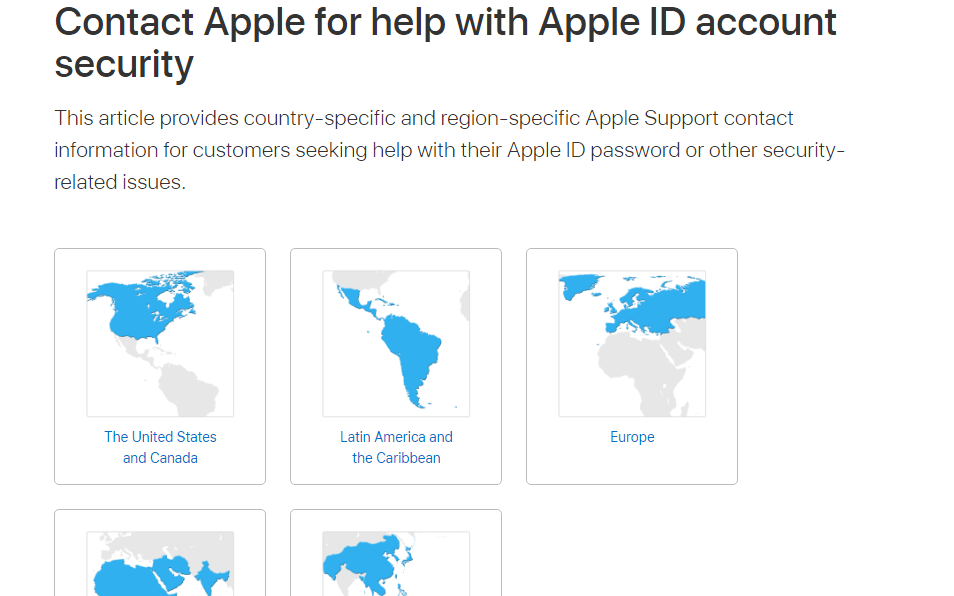
If you are still unable to unlock your Apple ID, then it’s time to contact Apple’s support team. The support team is always ready to help you with Apple ID account security. You can contact them through here.
How To Prevent This To Happen Again?
- Never share your Apple ID with someone.
- Always use a strong password.
- Only log into your Apple ID through Apple’s original site.
- Ensure signing out when using a public device.
- Never share your password with anyone.
- Set up Two-Factor Authentication or Two-Step Verification.
- Avoid phishing scams on emails and other means.
Source: Support.Apple, Apple Tool Box
I hope this article would have been helpful to you. Still, if you are facing any issue or have any query then you can directly ask through comments. I will be trying my best to solve them as fast as possible. Also comment, if this article helped you in unlocking your Apple ID.
Also Read:


 - If you have got an Apple ID disabled and you want to know how to fix it? then this article is for you!)